Friday 22 April 2016

Quixel won't work, Using Substance Painter Instead.

I recently bought an academic copy of Quixel Suite 2 however I cannot seem to get it to work.

Because I only need small details on the normal map I don't need a high poly mesh however what I do need is a program that will let me paint on normal information onto the mesh in 3D. Because the normal I have is too flat it is almost impossible to tell where the details are. Quixel also doesn't seem to let me do this, even though the initial tutorial for the suite displays the exact thing I want. As soon as I load up the mesh 3DO makes it exceptionally blurry and refuses to bring up the 3D painting mode which the suite definitely has.

Instead I got the Substance painter 30 day free trial and surprisingly it worked immediately. The program is excellent and let me easily draw normals straight onto the mesh. All I wanted in the normal was welding marks, scratches, some height texture and a few indentations. Once I got to grips with the controls it was fairly easy. The only thing I didn't work out how to do was place normal shapes on the mesh, I had to draw out and polygon-like shapes or tap using a shaped alpha.
Then I could go straight into painting. Substance has bunch of pre-made materials to use, most of them metal based, many with normal, height and roughness maps already set to them. I used fill layers with masks to create the textures. In Substance all the maps are combined and then exported separately so you can see how it would look finished while you are working on it.


Low Poly Finished- High Poly Unnecessary?

I feel the low poly is high detailed enough while being under 10000 tris to not require a high poly, or at least a high poly in zbrush. Programs like Quixel and Substance Painter should allow me to draw any additional normal information onto the normal map. If I use the cage method but use the low poly for both definitions in xnormal, this should give me a functional normal map and AO map
I have also started to UV the mesh. I am currently doing it in segments as I am still unsure which approach is best; having three separate meshes or to have a singular mesh.

Sewing the Mesh

The biggest problem I had with my pillar mesh was that I did not combine all the separate objects I used to make it in order to create one unifying mesh. This became a problem while re-topologising, as there were many faces, edges and verts underneath the surface which made it incredibly difficult. And the file corrupted.
This time round I have made a conscious effort to make sure there are no internal verts or artifacts that could affect me at later stages. This is more difficult but should eliminate a lot of problems before they can even happen.


Here you can see I have separated the different elements of the mesh, detailed them and then started reshaping them so I can target weld them all together with not internal verts.


Time Machine

The final project for this unit is to create a time machine using all the skills that I have learned. It has to have a normal map, AO map, roughness, metallic and an albedo map. The brief is fairly broad as a time machine could be anything which gives me lots of options.
I'm basing my concept on the radio series 'The Hitchhikers Guide To The Galaxy' and means of time travel that is cheap, random and possibly dangerous. Like actual hitchhiking.
It's basically a portaloo sized cubicle which is cramped, uncomfortable and filthy that has no co-ordinates or time zone. When activated it will transport the user to a random place in time and space.
I have already settled on a design after some quick silhouetting and concept art.


Finished Pillar

Despite my set back I managed to get my normal maps baked along with ambient occlusion in xnormals.

I used Unreal Editor to make sure that the normal looked good over the mesh. I added some metallic and roughness values as well to give it a more suitable material.


Maya corrupted file- Fixed

Before I started prepping my meshes for baking, the Maya file containing the low poly mesh and the in-progress topologised mesh became corrupted. This has set me back a bit becuase of the difficulty I previously had with topologising the mesh so a lot of work has been lost. As the I am overlapping this with the next project, I tried to fix it quickly by decimating the high poly mesh to under 10000 tris. This bad for actual 3D modelling as decimated meshes are still far to complex for use. However I do not appear to have an alternative. UV mapping a decimated mesh will become very problematic as it has so many verts and edges and would take a huge amount of time to map it properly. Just only automatically unwrapping the mesh works but is still not optimized and is unhelpful for any future texture-work.


Finished High Poly, Re-Topology

I have now finished the high poly model of my pillar. From the last iteration I have added cracks from bullet holes, more general distortion to the surface and a deep energy sword cut to the side


I have also started re-topologising the low poly by sewing silhouette changing details from the decimated mesh of the high poly to the low poly.This is becoming fairly difficult as I appear to have many internal vertices and edges in the low poly, causing a lot of deformity when I try and insert the bits from the high poly.

High Poly Mesh


I feel like I have made some good progress with the pillar. I have styled the damage marks akin to Halo weapons.
The large hole in the side is meant to represent a plasma weapon burn and the large indentation in the side to show a gravity hammer striking it. I added a small energy sword cut in the buttress, but but other than that it is general wear and corrosion.

Broken Pillar

Working from my designs I have created a base poly mesh to bring into zbrush.
I am happy with the outcome so far apart from a couple of overlapping edges towards the top and on the base. When I tested it in zbrush the mesh initially broke, holes and tears appeared on flat surfaces. I fixed this by adding more divisions and edges to the mostly flat areas.

Baking

The next task is to create a broken pillar using zbrush and then bake the high poly information from that onto a low poly.
This is mostly and exercise of 3D sculpting and learning how to bake properly. This will involve making a low poly mesh in Maya as the undamaged pillar and bring into zbrush to add destruction detail. Because the damage details may deform the overall silhouette of the original mesh, a lower poly version of the high poly mesh needs to be brought in so the silhouette of the original can be re-topologised to allow for the high resolution information can be baked onto the simpler mesh.
I have already started concepts for the design of the pillar. I felt a Halo themed design would work well as there are many different types of weapon in the game that can produce multiple kinds of damage and effects.

Tuesday 19 April 2016

Materials In Unreal Engine 4

After a lecture and a walk through of playing around with UE4 I am still unsure about materials and UE4 in general. I understand how materials work, multiple textures compiled to produce a specific effect and look. At this point 3D is starting to become really confusing to me and while I had fun playing around with the editor when it comes to actually making something in engine I'm not sure how confident I will be with it. 

Telephone continued


Still making progress, the middle 'branch' was difficult because the way I was previously doing it meant I could not smooth it properly. The telephones arms have come across nicely and I am satisfied with the dial at this point.

Advanced Modelling

The next task is to produce a vintage telephone and for this we had a lecture on advanced modelling. 

Subdivision modelling which allows either smoother edges to hard objects of for more information on a flat plain to prep it for higher fidelity modelling such as sculpting in zbrush. Edge loops are similar but are often used to define an edge so it does not become too smoothed when subdivided.
We were introduced into using floaters to get our geometry right before putting it onto the mesh. Floaters are separate bits of geometry that sit just above the mesh as to appear part of it when deselected. For the telephone we all created the dial holes then multiplied them in a circle. This is to get the angle and size right before attaching it to the mesh as this means it can be modified and it wont affect the entire mesh if it needs to be edited.
When we were satisfied with our dials we deleted the face underneath to replace it with the dial.
I experimented a little with the dial and added a central spiral in the centre using the same method.

Barrel Texture


My final barrel texture. Tried to add some wear and dirt to the wood. The wear in the middle turned out really well whereas the dirt i nowhere near as noticeable.


Texturing

After an introductory lecture to 2D painted textures, my lecturer set everyone up with a pre-made and UV mapped barrel and walked us through the different layering and processes of making a texture in Photoshop.

My barrel texture from the lecture turned out a bit odd, mostly because of my colour choices but it seemed to line up ok but not great by any means.
The task from this lecture was to create a new hand painted barrel using the same technique.
The important process to note here is the way to layer different parts of the texture. For instance separating the wooden parts of the texture from the metal and the specific detail that comes from both. layering all these allows them to be changed or altered later on. In industry this would be useful for changing the wear of an object or its weathering depending on what kind of environment it is in. This also allows it to be altered in a non-destructive way.

UV Mapping

UV mapping is the process of taking the faces of a 3D model and unwrapping them to create a 2D representation of the model. This is done because a 2D image of the 3D model is needed in order to make a texture. 
All game engines are only capable of rendering 2D polygons in a 3D plane. This means the information of all theses faces must be 2D as well. 
KilaPart03_30
UV mapping appears to be very complicated but necessary. If a 3D object is unwrapped poorly, having a lot of distortion or having a bad layout means visual information can be lost or warped when a texture is applied to it. The concept makes sense to me and explains why some games have poor optimization in some areas possibly and stretched textures. In practice however this may be completely different.

http://cgi.tutsplus.com/articles/game-character-creation-series-kila-chapter-3-uv-mapping--cg-26754

Monday 18 January 2016

Using Maya


In my first Maya I was taught the basics and walked through making a simple desk lamp. Clearly from the image above I didn't get everything right, specifically the lampshade as I didn't get the extruding right and it left a cavity inside it with no faces on it. I was initially surprised as I expected Maya to be more like Zbrush in how making shapes would work, however Maya is clearly more suited to minute and specific detail in relation to rendering. Zbrush is for sculpting in fine detail for the highest visual fidelity whereas Maya is geared for making the most efficient meshes and all the tools in it aid in that.

For my next lamp I decided to do a traditional table lamp with cable switch. The main body of the lamp was fairly simple and I just made it by extruding cylinders upwards. The shade was a bit more complex especially the inside frame and at this stage I am yet to add an interior face to the shade as the negative of the outside face is left visible. The most difficult feature was the cable. I was unsure how to make it so I extruded cylinders at different angles to mimic a flexible cable however I realize that this is an impractical way to do it as it takes too much time. 

Thursday 14 January 2016

Introduction into 3D Modelling

My first task in this project is to create a model of a desk lamp in Maya. Before the first lesson we had an introductory lecture to cover the basics and fundamentals of how three dimensional objects are rendered in a game engine and why it is important to consider what a game engine can and can't render well.

This lecture also covered what a 3D model is;
They are all made up of Vertices, Edges and Faces. Vertices being the corners and edges specifically are lines on the model made of two vertices and faces being a set of connected edges that form a shape. All vertices have have numerical values in a 3D space that go in the labelled directions X,Y and Z.
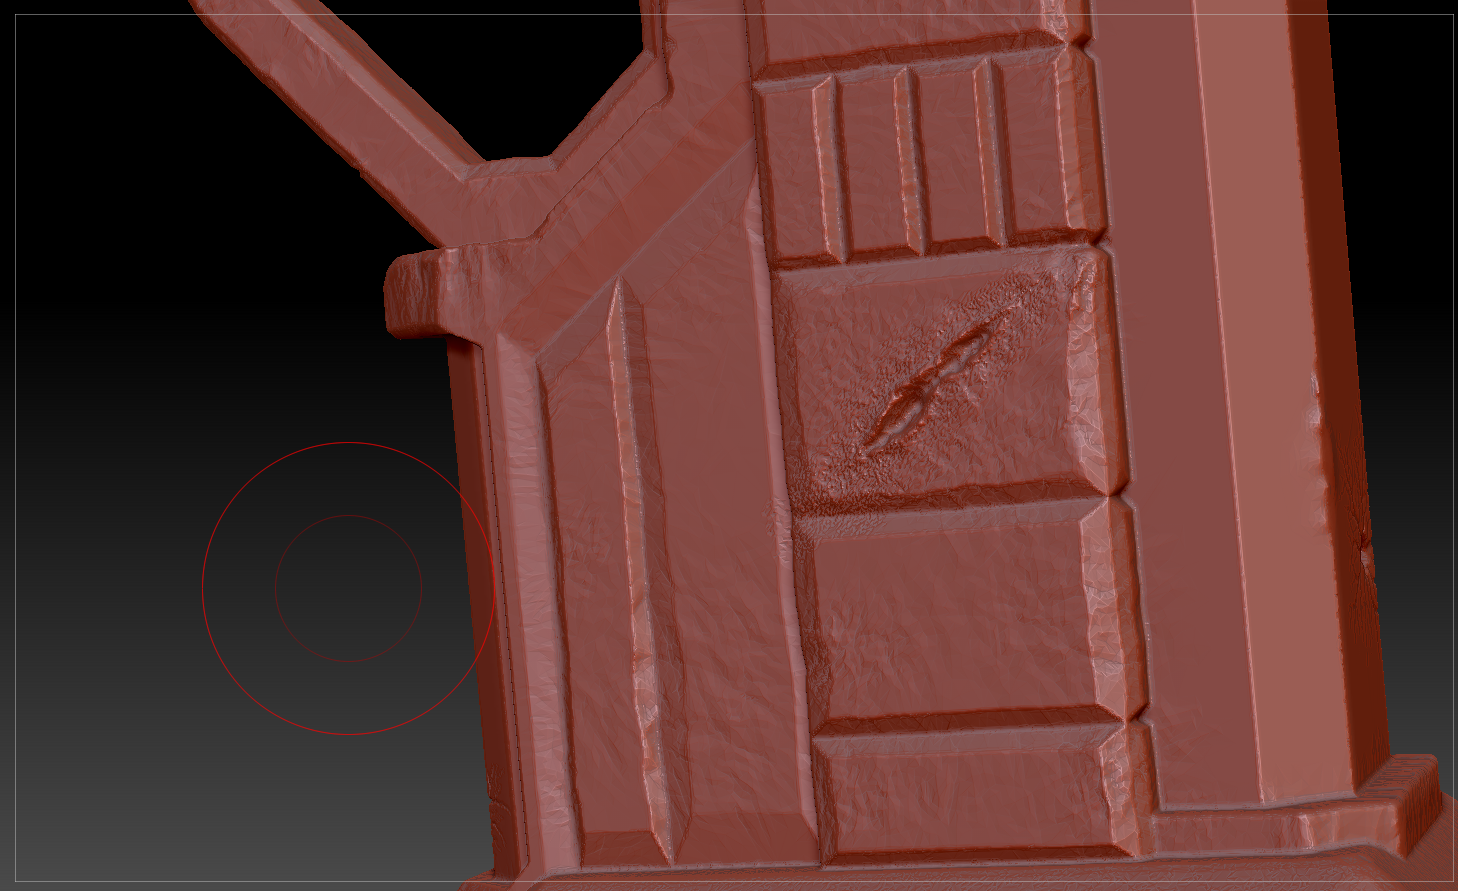
Polygons, in modelling terms, make up the surface of a solid object. The simplest polygons possible are triangles, however they are best avoided when modelling as they do not necessarily deform correctly when animated and are too fine and angular for round or natural objects. This is why Quads(quadrilaterals) are used for more organic assets as the mesh will deform better. N-gons are polygons with more than five edges and can cause a lot of problems with animation. These are easily avoided however as they can be broken down into triangles or triangles and quads.

It is also important to note that polygons only face in one direction and on their own only have two dimensions. You can often see where a model's mesh finishes in First Person Shooters on PC by modifying the game files to display the game at a higher FOV angle than is present in the game. This is because if a game is developed for console then the FOV is locked and therefore the rest of the gun model isn't always needed and is sometimes not even included in the model itself. Raising a first person games' FOV value may also mean your view may clip into the geometry, allowing you to see the space in between.

UV Mapping is the process of unwrapping the 2D elements of a 3D object. U and V represent X and Y in a 2D plane respectively. Having this unfolded frame means it can be filled with a 2D image to add detail to the 3D object. These are called textures which are then applied to the 3D object to create a detailed 3D asset.
How complex and realistic a texture can be is down to the overall style you desire and your own personal input. Typically games with low memory allocation such as mobile games, tend to have painted textures that include light and shadow details. This is not 'realistic' as light and shadow can now be properly rendered in game engines. So in more advanced games textures are very different. Albedo or diffuse maps are essentially the base colour and basic information of the texture. No light or shadow information should be included in these as they will be rendered in the engine. Details like wear, rust, markings and other decals can be added however as these are specific to one object. 
More detail can be added in the form of Normal maps. High polygon meshes are difficult to render as they contain so much information. This performance impact can be negated by the use of normal maps with the Albedo maps. What a Normal map does is take the information from a high poly mesh onto a low poly mesh. Instead of using the 3D XYZ axis it uses the RGB channels of the 2D plane to correspond with the 3D axis to simulate the detail present in the high poly mesh but a much lesser cost of memory.
In addition to normal maps there are metallic and roughness maps. Metallic and roughness maps are not actually textures, they are multiple textures compiled together that make a material that will respond to light in different ways.

Believe it or not this my understanding of my most recent lecture in the simplest way I can put it, however there is a great deal more depth to be covered and finesse to be learnt in workshops to come.

Sunday 10 January 2016

BA1b Asset Creation

BA1b

For the this unit I am being introduced to the Maya software package and learning how to use it to create 3D models and assets.
The unit will consist of multiple workshops and seminars, linked to individual tasks that will teach me the fundamentals and learn industry standards for asset creation. My brief is to create increasingly complex assets using Maya for each task set, the first task being to create a desk lamp.

The contextual studies part of this unit is split into two projects, the first being Games Industry Roles and Practices. The brief is to research how artists and designers fill different roles in the industry everywhere in between AAA and indie production. This research will result in a presentation on a specific and studio.

The other part of the contextual studies in this unit will be an Introduction into Game Studies which focuses on understanding an analyzing games on a fundamental level, in terms of their historical, cultural and technical aspects. Research gathered in this project will culminate in a 2000 word essay.

I am looking forward to this unit as I haven't done much 3D before apart from the zbrush workshops in the previous unit, however I am aware that Maya is very different from zbrush in how the 3D models are made as zbrush is specifically suited to sculpting, and originally designed as 3D concept software, whereas Maya is apparently is more focused on the entire process of developing a 3D asset, from the basic model making to texturing and materials.